Transferring Google Maps to Garmin eTrex
On a previous trip, a lot of time was spent trying to transfer bicycle directions from Google maps into a Gamin eTrex 20. This tutorial will cover the process that was used to transfer these directions. It is expected that this will work for all eTrex (10/20/30) systems and would probably work on other Garmin systems.
Step 1: Set up the route in google maps
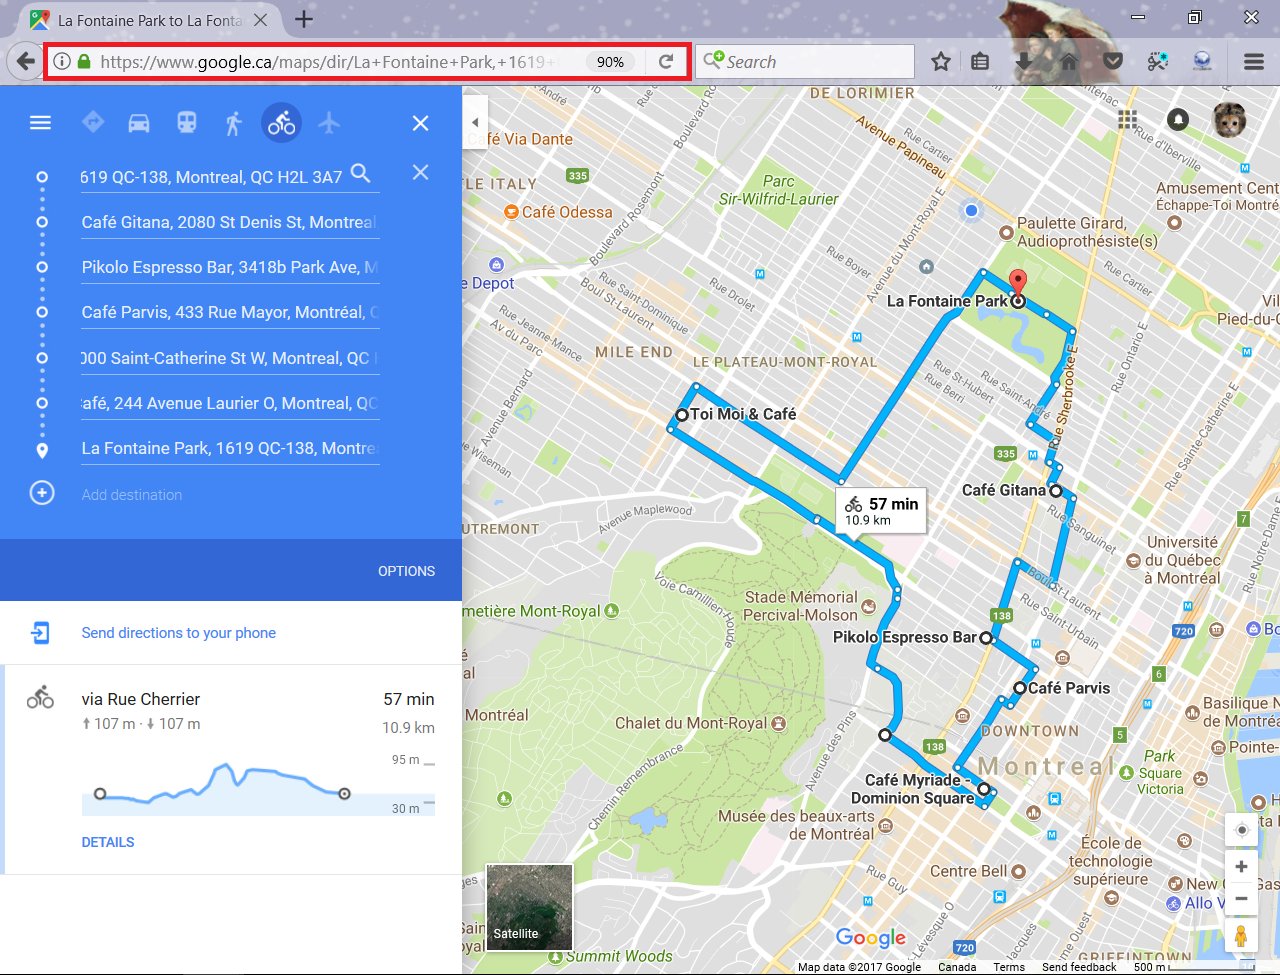
Using Google Maps, create a route which has directions to the locations required. It is possible to adjust the route such that it follows specific waypoints that are needed. If using the My Maps version of Google Maps, it will be necessary to make the map publicly shareable with a link so the tool being used to convert the directions has access to it. Once the route has been planned then the URL for the page needs to be saved.
Step 2: Visit GPS Visualizer website (https://www.gpsvisualizer.com/)
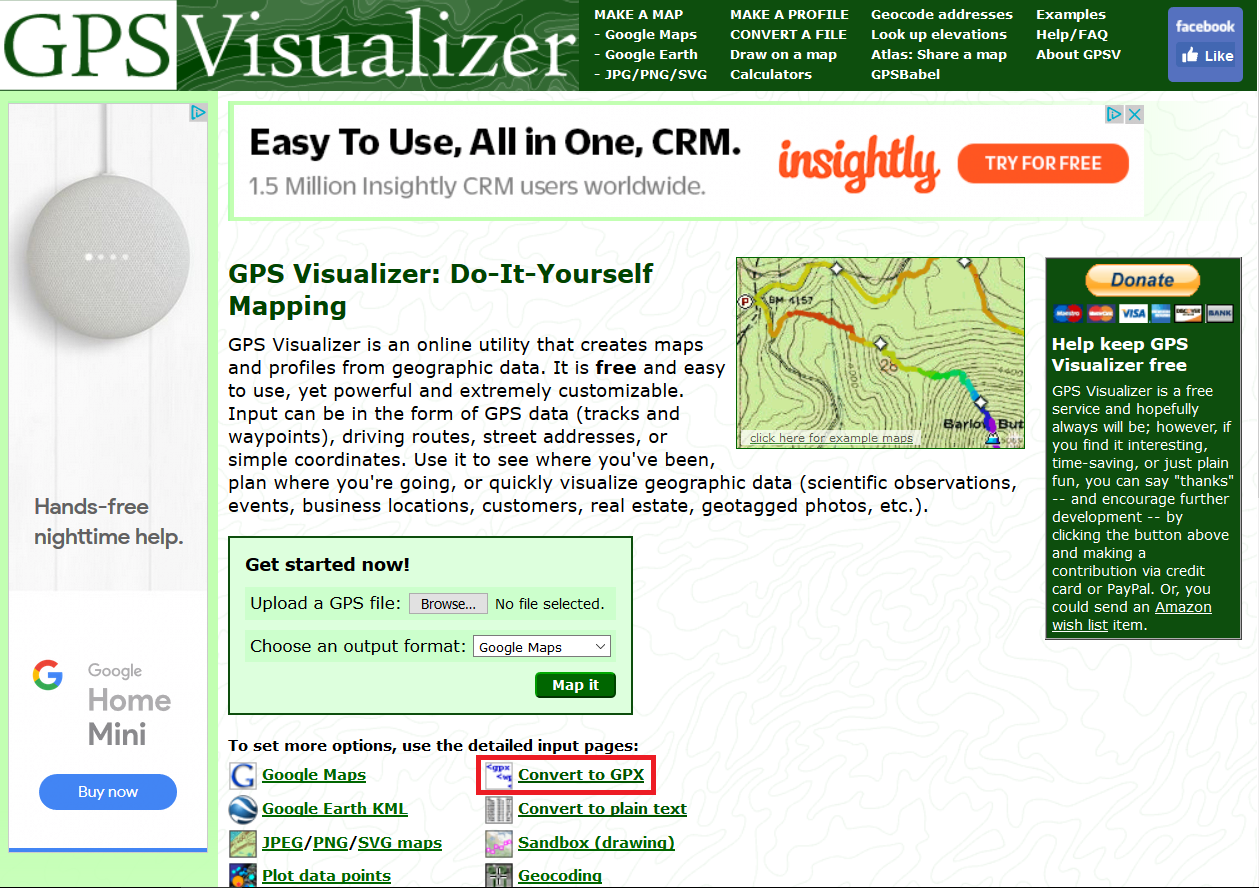
So next up is to visit the GPS Visualizer website link. GPS Visualizer is a tool that does the conversion between Google Maps and a text file that the Garmin can read. The site has a lot of useful tools to explore but in this case we are interested in the convert to GPX function. Select Convert to GPX link on the home page.
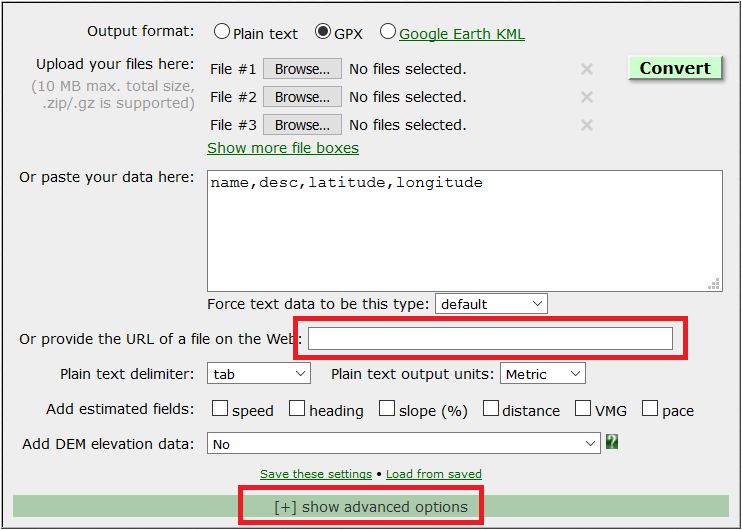
Paste in your URL in the section labeled "Or provide the URL of a file on the Web:". Next click on the "show advance options" button to adjust the file format settings so they work in your Garmin.
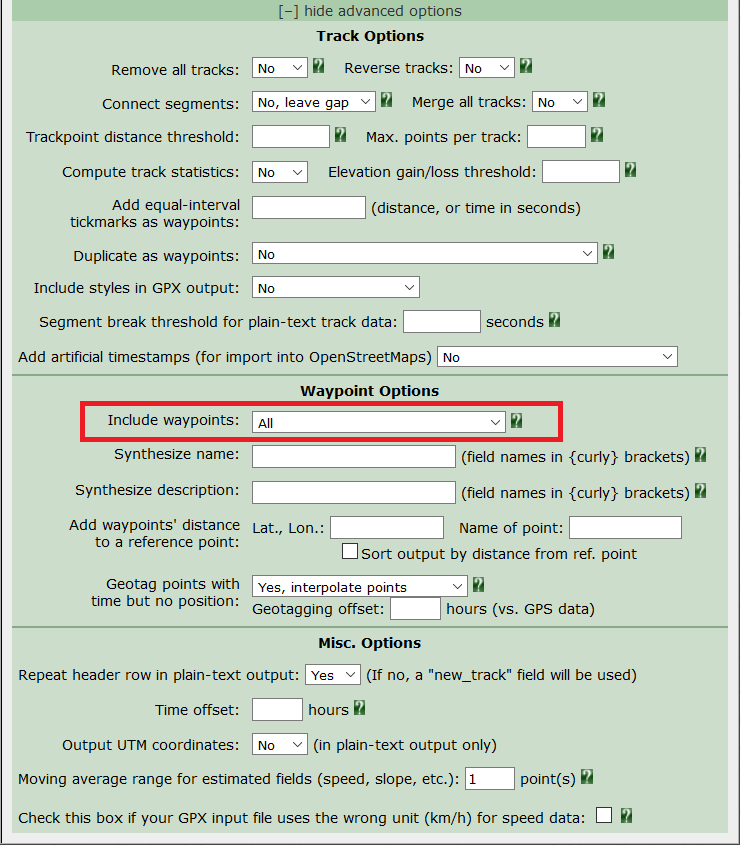
Adjust the field labeled "Include waypoints" from All to None. For some reason Gamin does not like it when waypoints are in the GPX files. This could be because the eTrex has a limited number of waypoints it can take so on a shorter trip this might not be a problem. Once that field has been set click "Convert" at the top of the page.
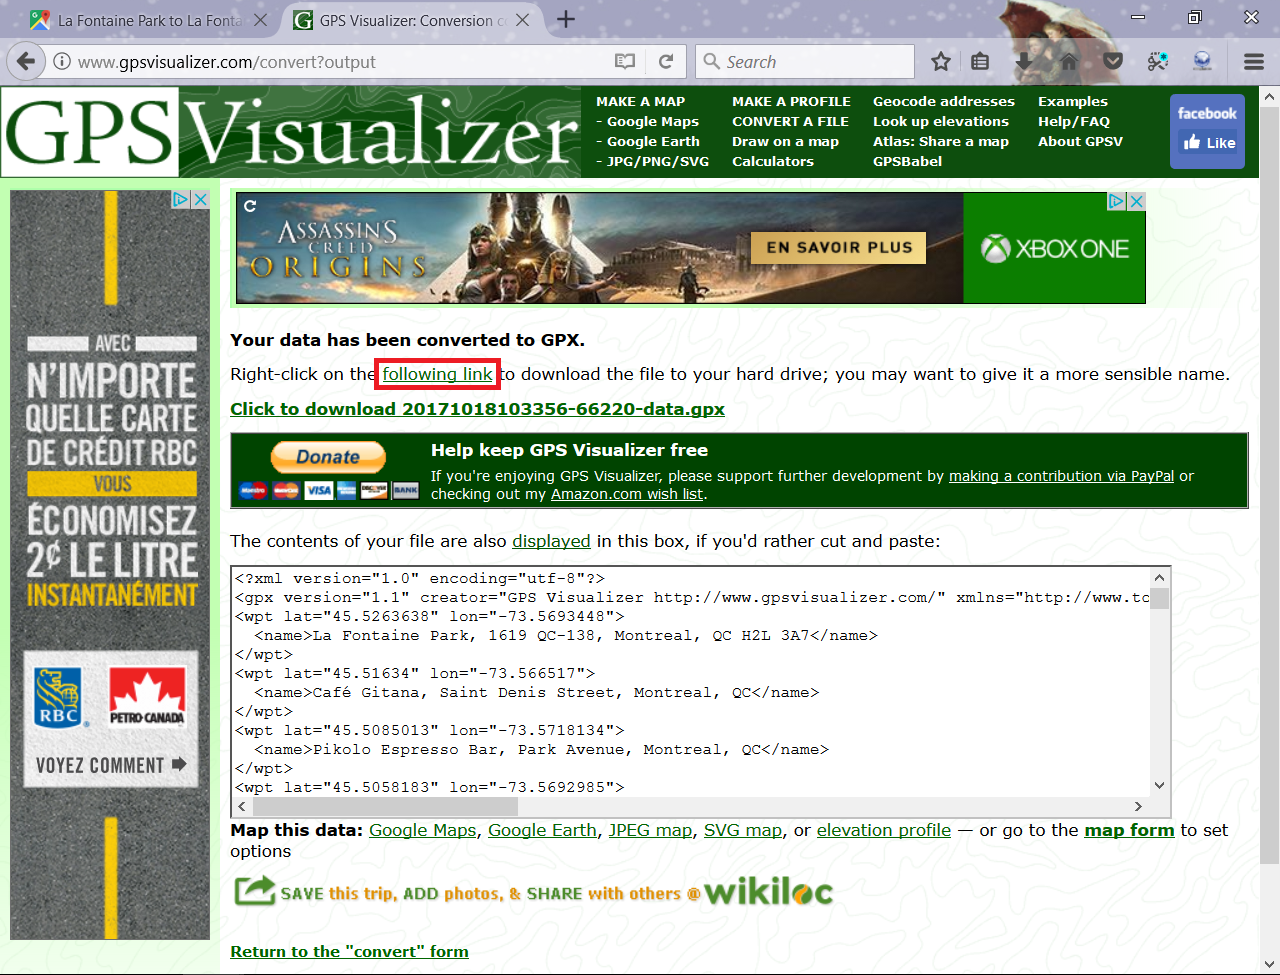
On the next page, click on the "following link" to download your GPX file and save it somewhere it can easily be found.
Step 3: Rename tracks (optional)
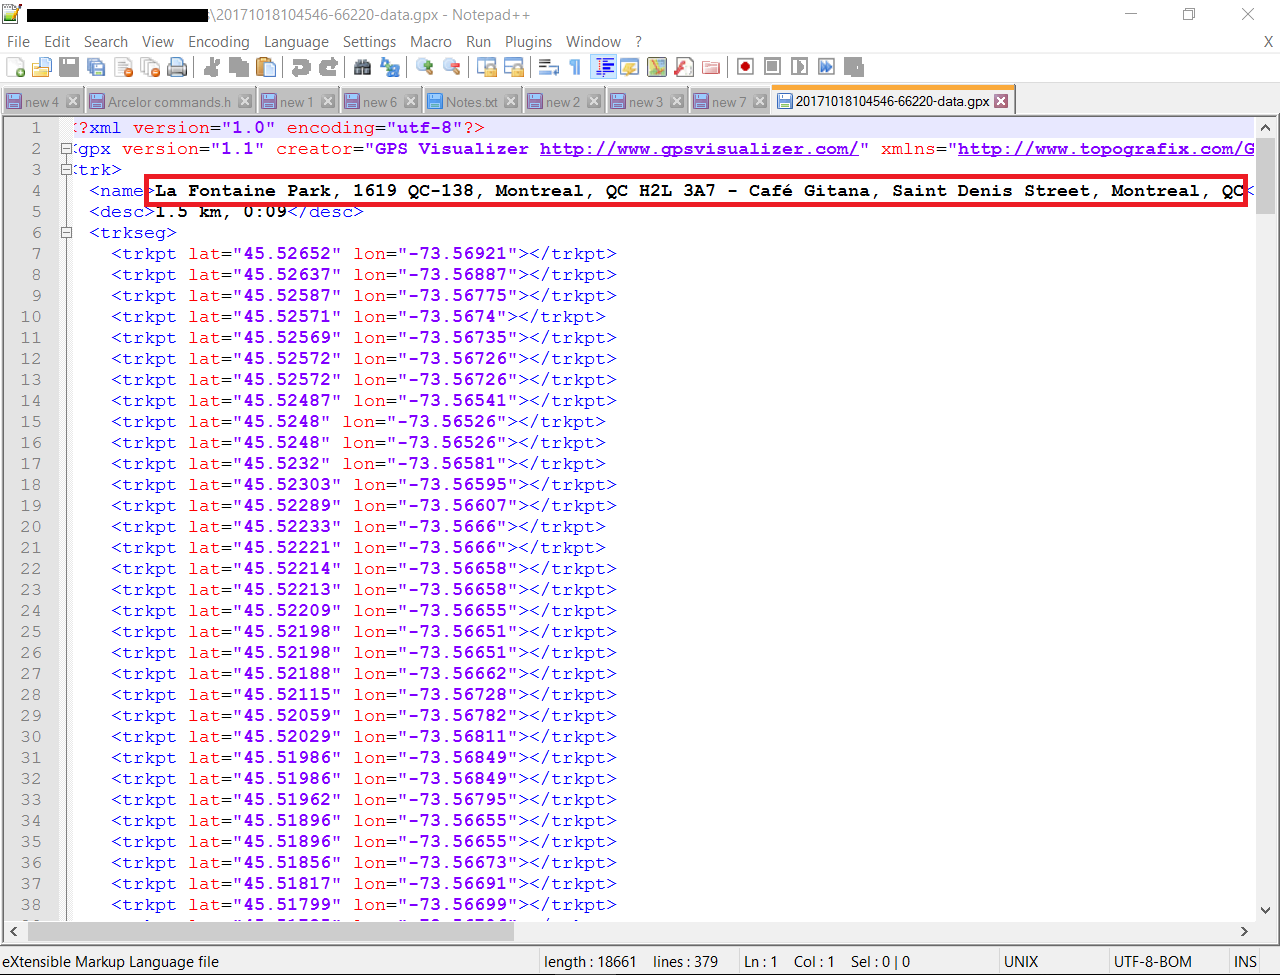
When saving a track, GPS Visualizer will automatically name the track. This name can be long or not very descriptive. To rename the track, open the GPX file in a basic text editor like Notepad++ or WordPad. Don't try to open it with the regular Notepad application because it doesn't read the format well any all the words get jumbled. When the file is open look for the section labeled
Step 4: Moving the GPX file to Gamin
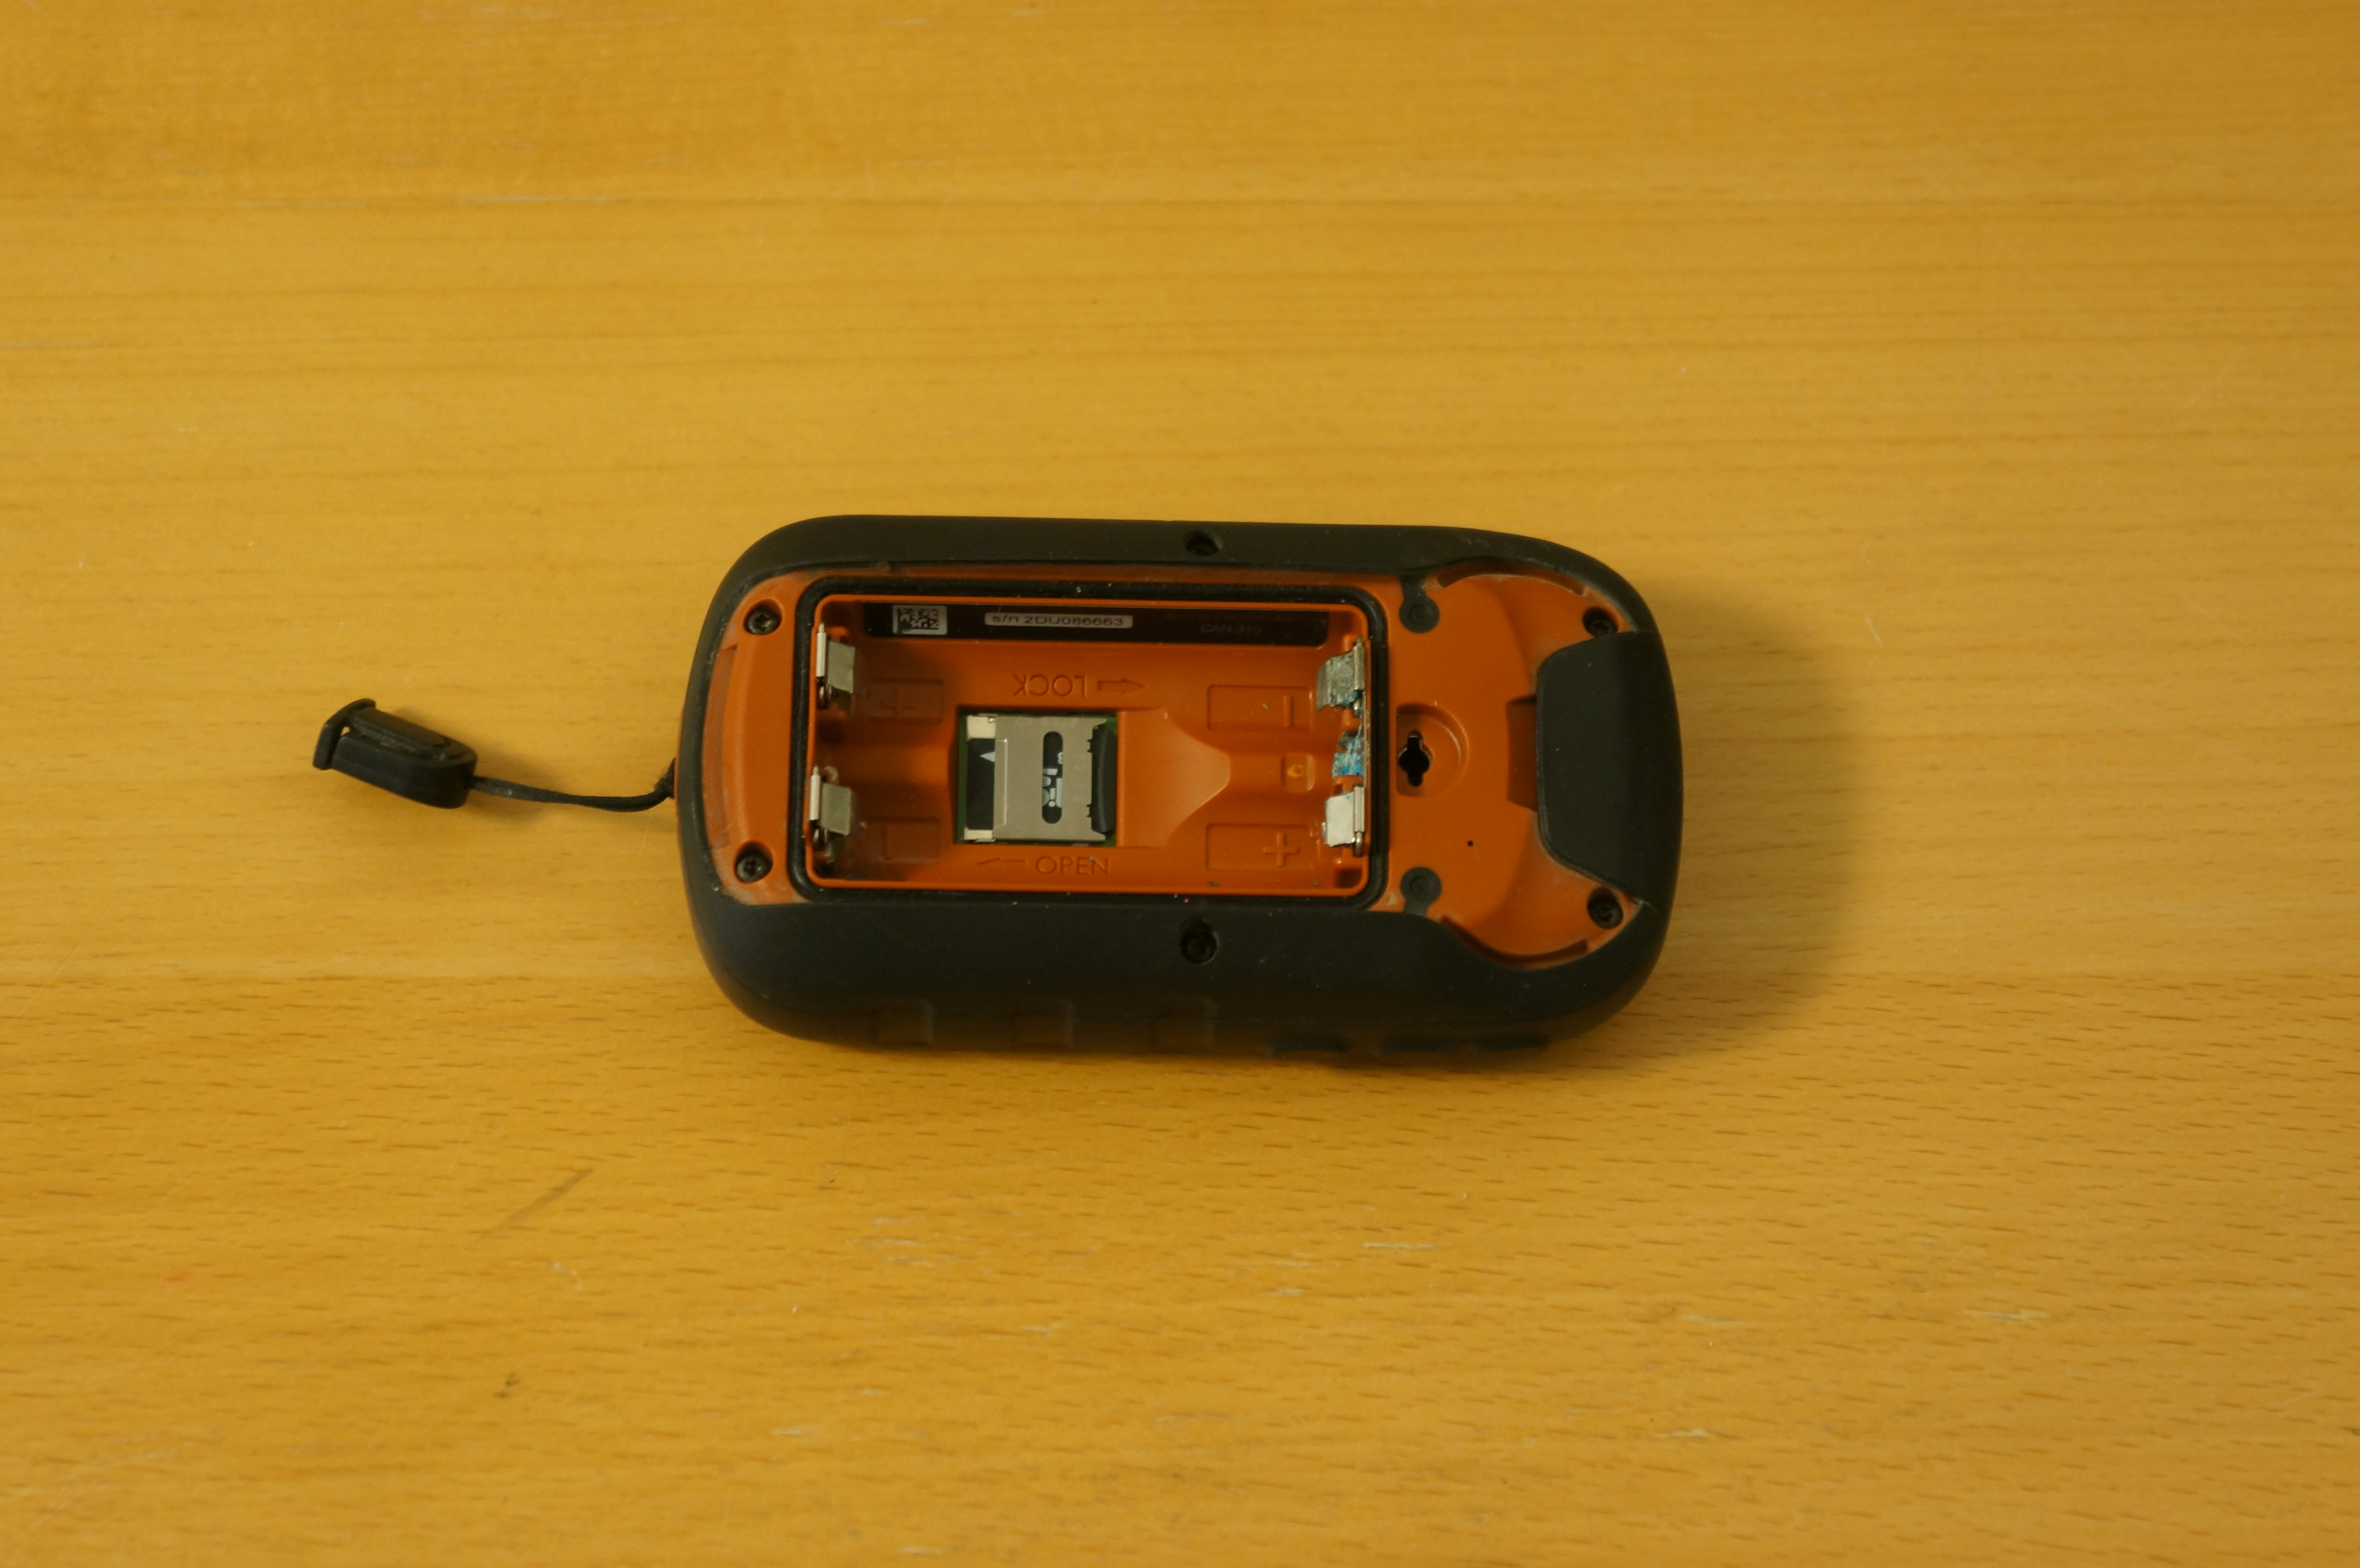
There are two ways to move a GPX file to the eTrex. The first method is by copying it on the micro SD card and the other is directly via USB. The preferred method is via micro SD since that bypasses any issue with not having the correct drivers. The SD card is located under under the back cover and below the AA batteries as seen in the image above.
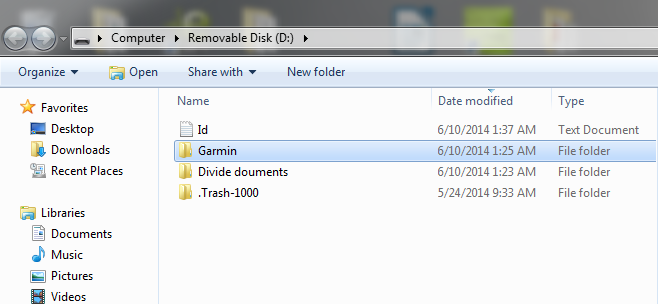
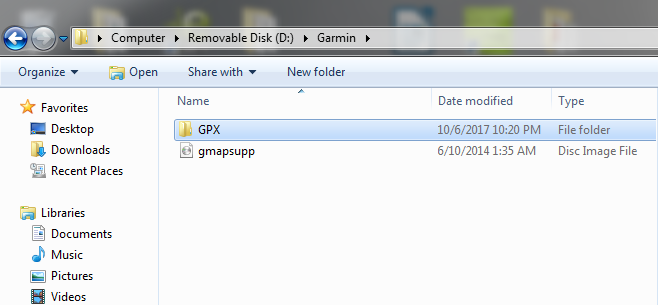
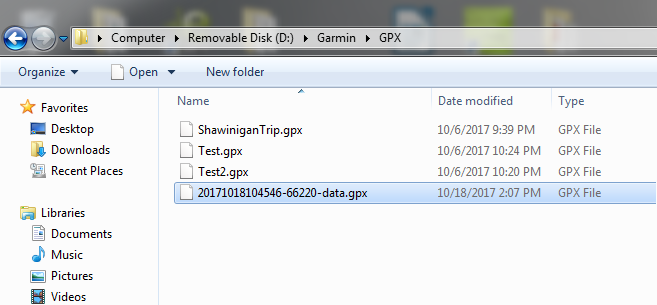
Remove the micro SD card and plug it into a computer. In the main directory there should be a folder called Gamin. Inside that directory there should be another directory called GPX. This is where the Garmin will be looking for GPX files. If this folder structure is missing it can be manually created.
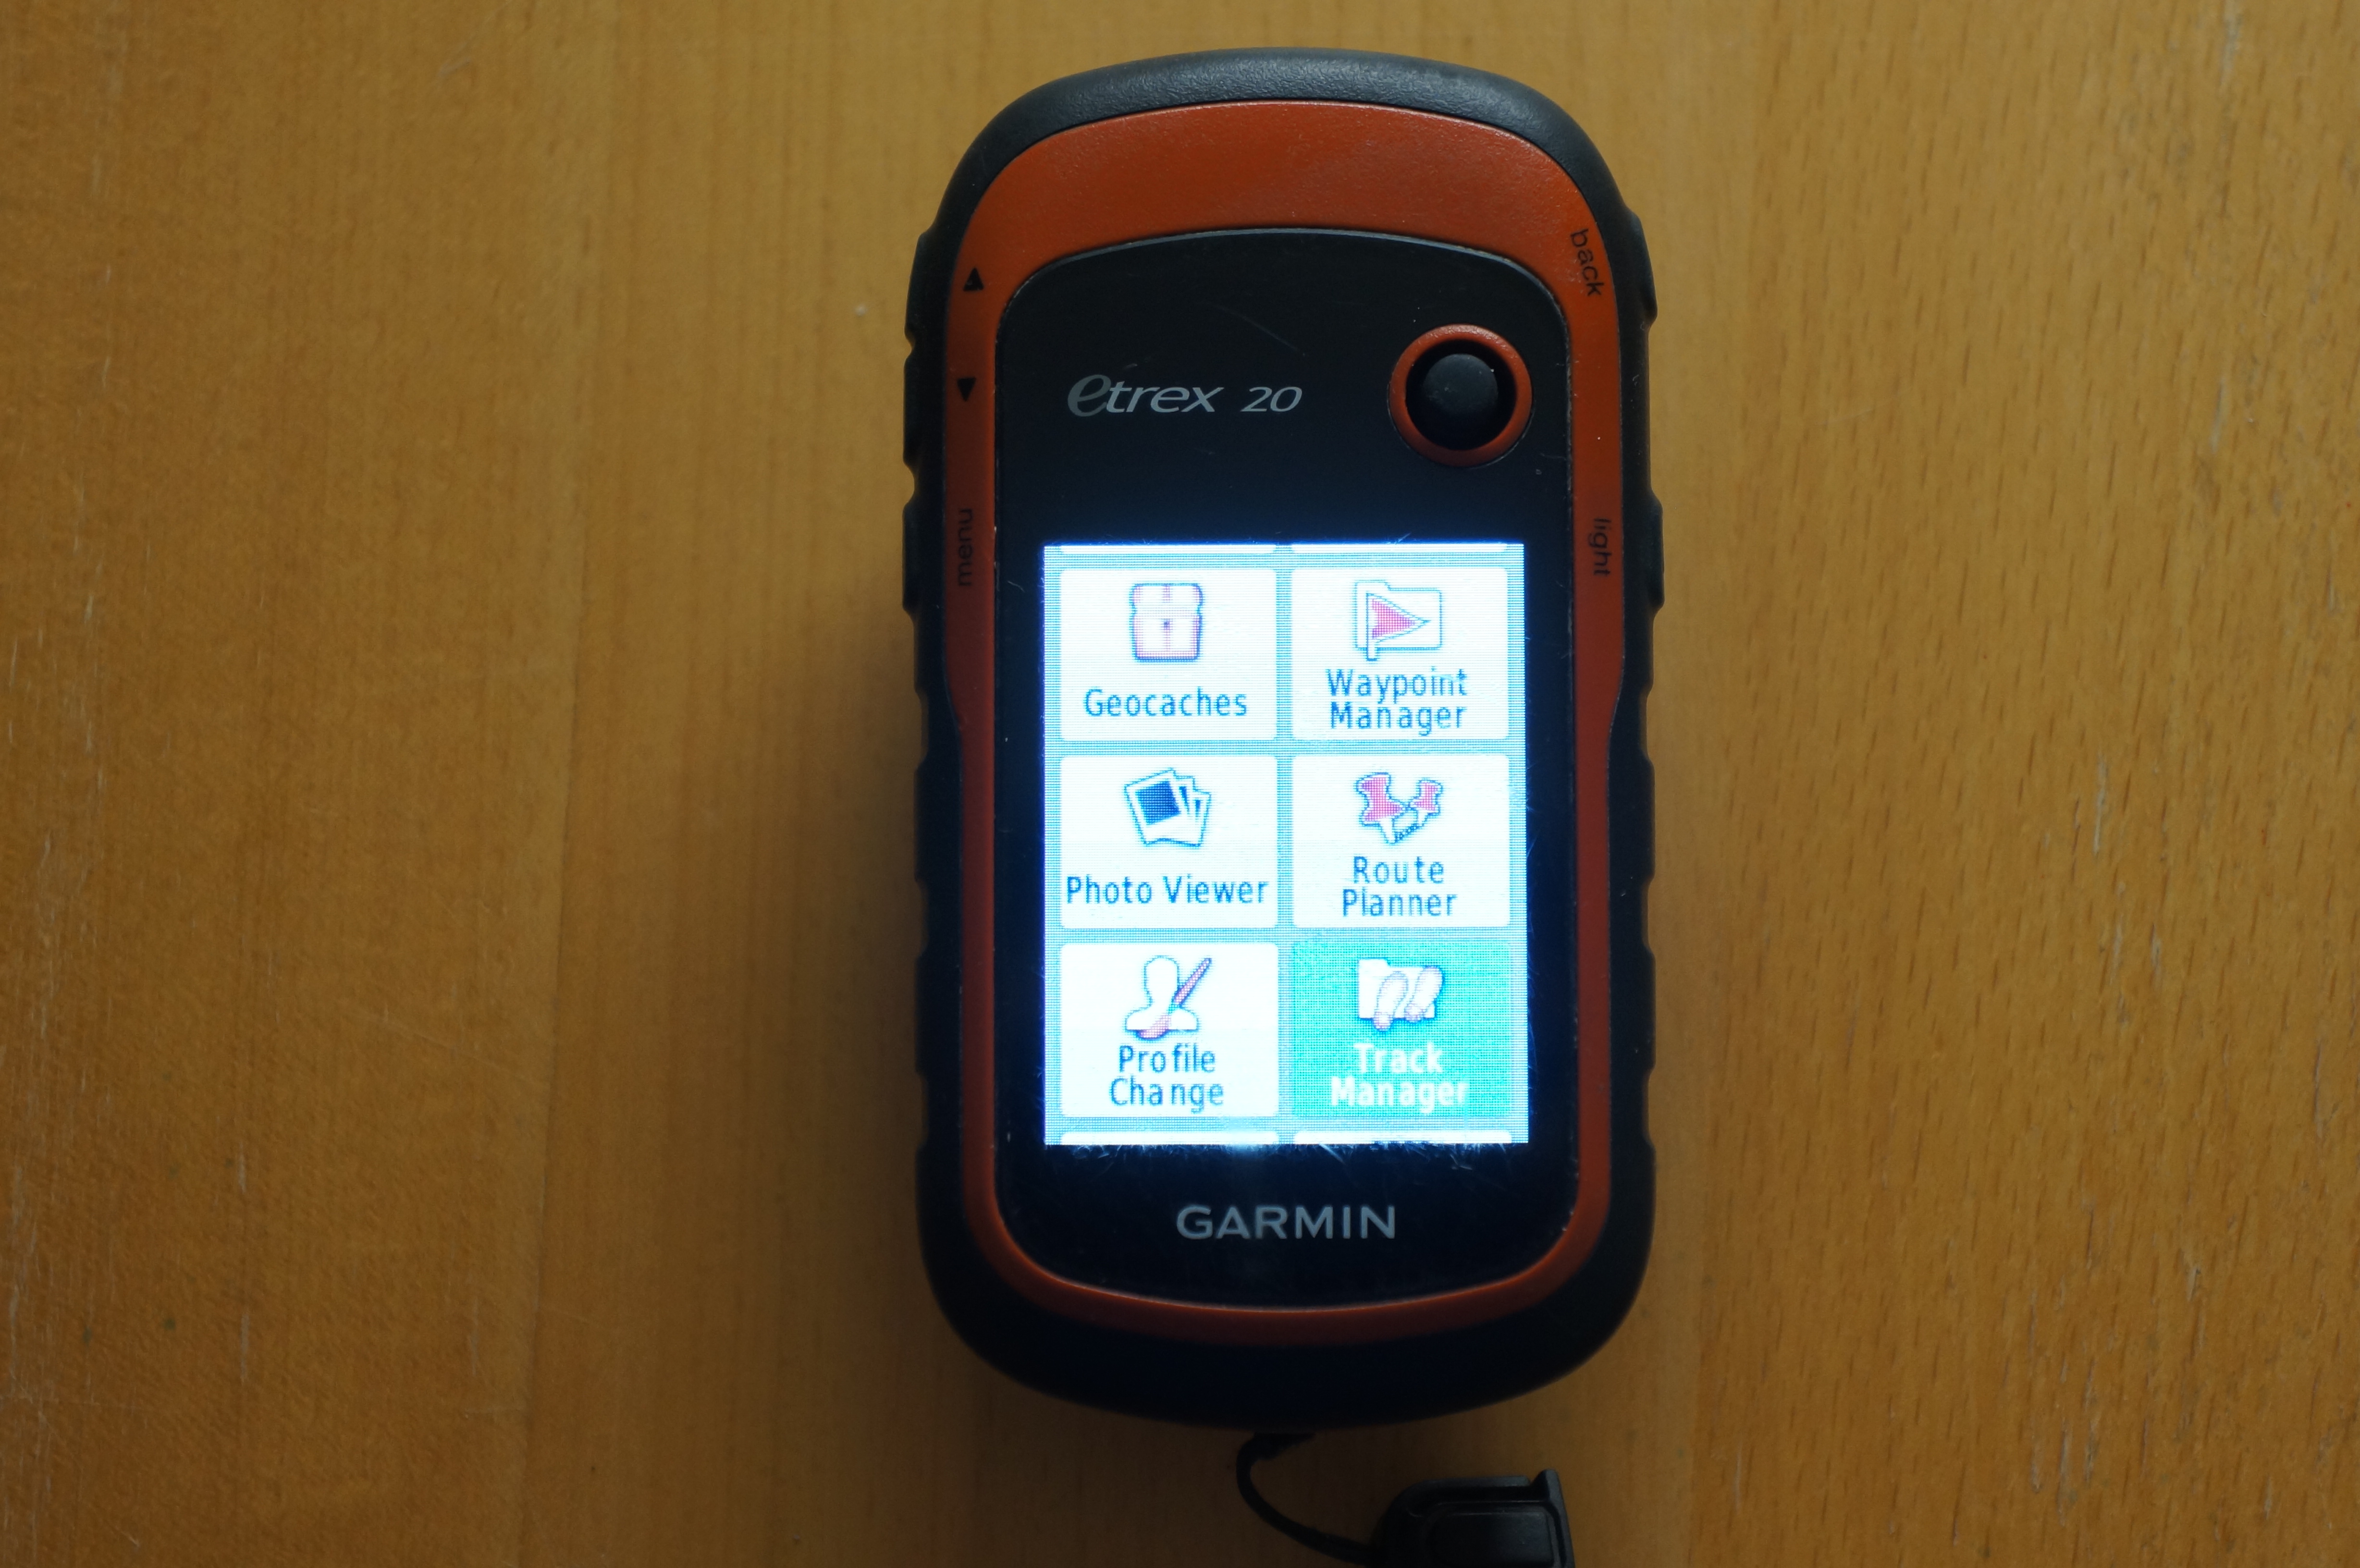
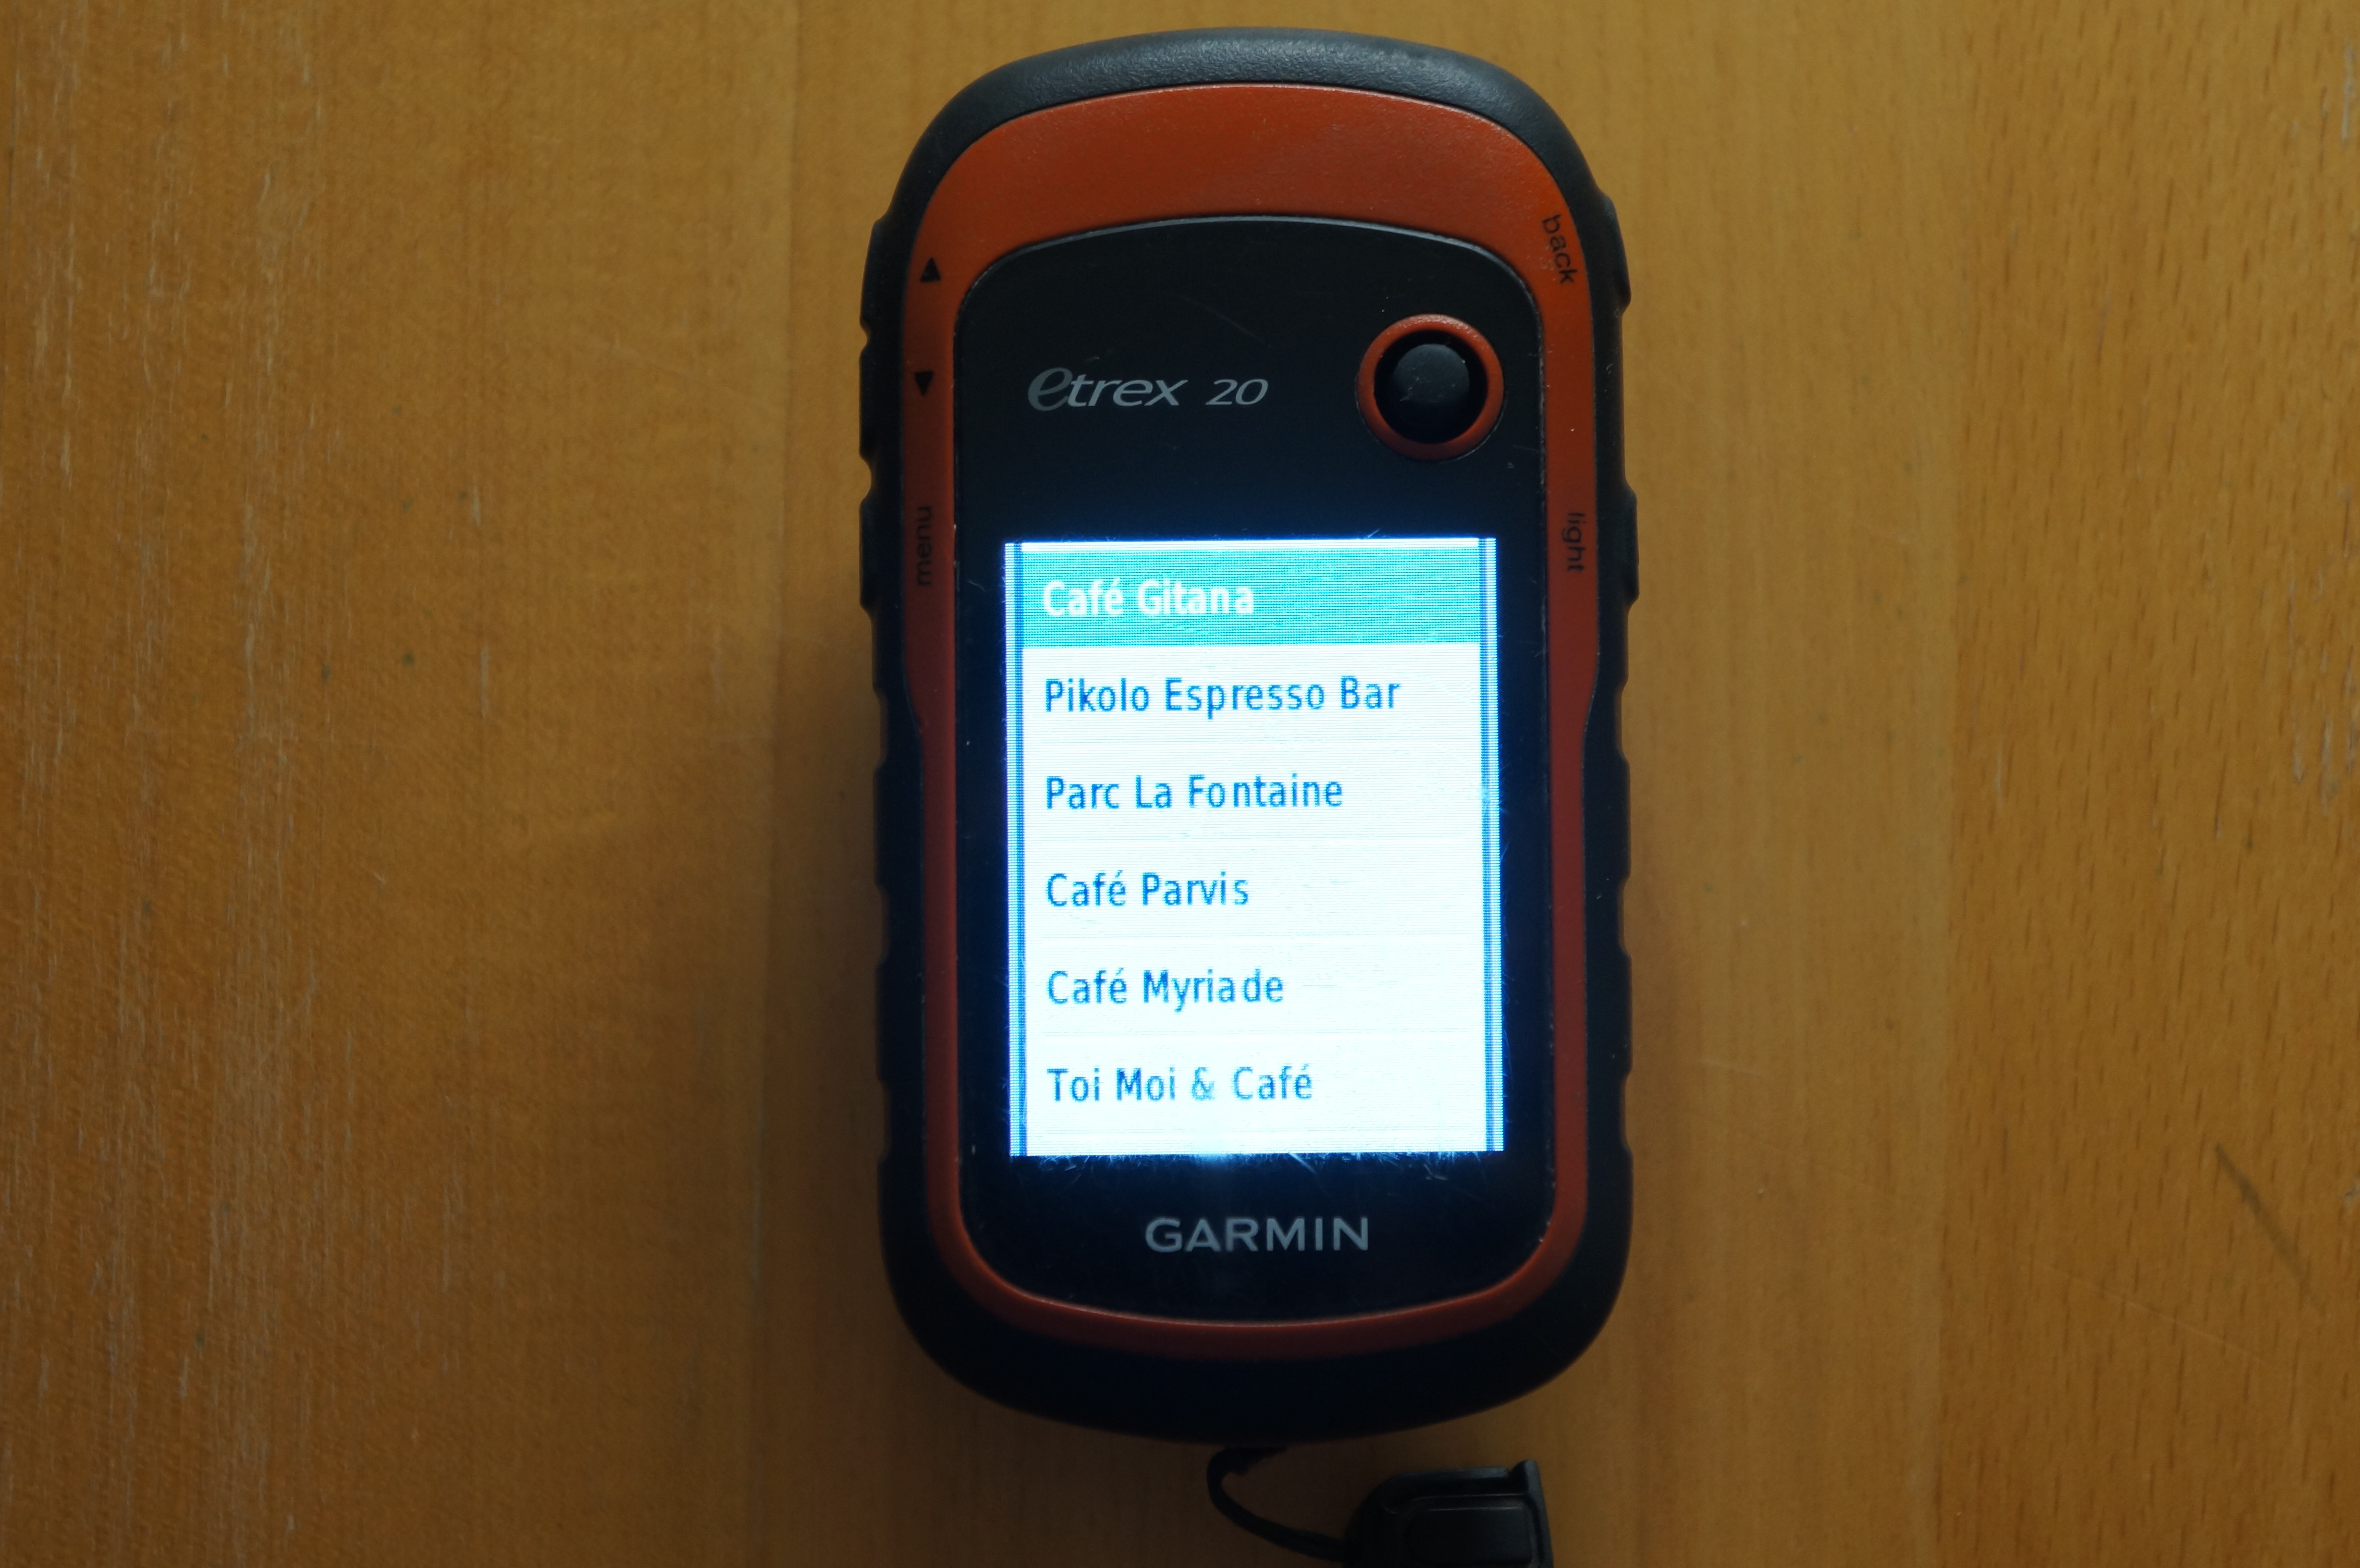
After successfully transferred the file the micro SD card can be reinstalled in the Garmin. Put the batteries back in, secure the rear panel and power on the Gamin. If all things are good, the new tracks will be in the menu folder "Track Manager".